I first saw a Locost when I was in University, this is supposed to be a cheap way of building a Lotus 7 style car. This was simply built from a Haynes manual with all plans given a with instructions. My first attempt at this resulted in me fabricating a round tube chassis but with independent rear suspension. This project did not get very far for many reasons, but I knew that one day it would.
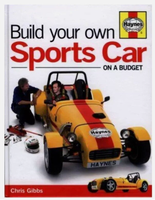
By the time my second attempt came around, there was a new book. "How to build a sports car on a budget". This time I knew I had to finish it!

Haynes manuals.
This book is available at all good book stores, and some that are not so good. It provides plans on how to build the car from the ground up, chassis and everything. The original book was built using mk2 Escort parts and steel from a scrap yard. The second book is Sierra based, but I knew I could make adaptions as I went.
Building to a budget sounds great, but where do you set the budget? I originally intended to build the car as cheap as possible, but this changed as the project progressed.
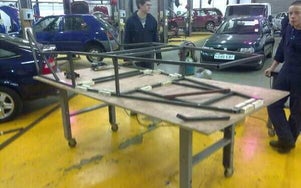
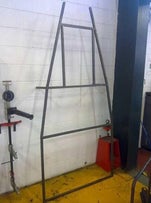
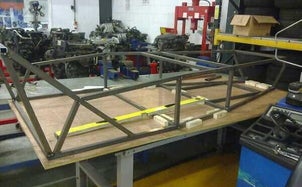
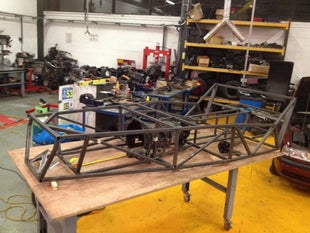
The chassis
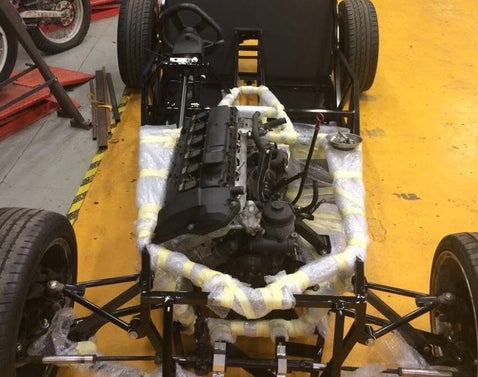
Both chassis designs are made from 25mm steel box section, some elements are made from 19mm box. The plans allow for the chassis to be build on a sheet of 8' x 4' ply. These images show the early stages of the chassis build. Care must be taken to ensure all the tubes are square and level.

Checking dimensions
There is no point building the chassis if the engine and box do not fit, so at key points I checked to ensure they went into the chassis with minimum issues. The Sierra I purchased came with the 2.0 twin cam engine with the MT75 gearbox.
Then it got silly!
The Sierra engine was ugly and tall, so I decided to go a different route.
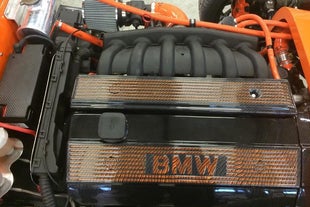
With a background working on BMW's, it seemed like a good idea to go down the BMW engine route, but 4 cylinders was not enough.
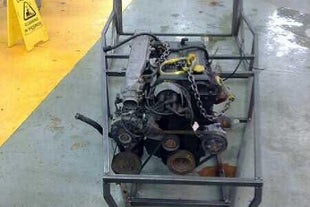
A donor engine was found on eBay. This engine came with all ancillaries, gearbox and wiring loom and a couple of drawbacks. The 2.0 6 cylinder engine is cast iron and heavy, but for £30 it was a gamble worth taking. There is a video somewhere of me sitting on the gearbox of this engine making it run with just a couple of wires, a fuel can on the floor and a prybar to engage the starter solenoid. Flames are jumping from the exhaust ports where there is no exhaust manifold.
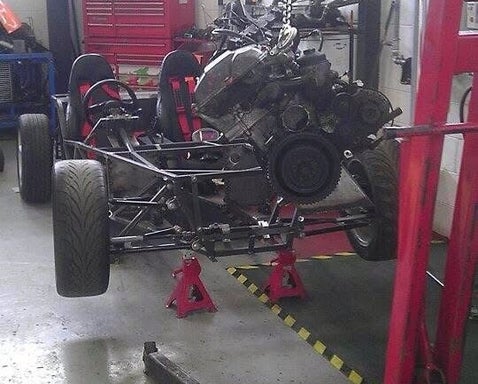
But it didn't fit!
Because I can!
Determination can be foolish or rewarding. 24 hours later, a bit of thought and the use of the grinder, the engine and box fit where it needed to go. When I say fit, I mean it went in and just about cleared the parts of the chassis that could not be modified. All it required was moving the front two tunnel tubes inwards by 25mm. By keeping the panels in the same place, no room was lost on the driver side, but the passenger lost 25mm of foot room.
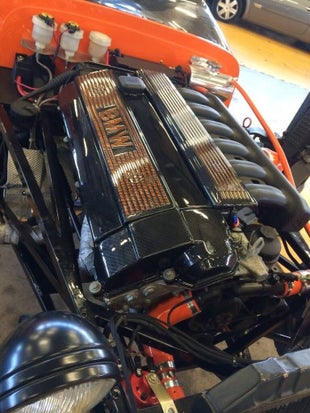
But, if a 2.0 6 cylinder engine fitted, that mean that the 2.8 6 cylinder engine would now fit, that was more powerful and lighter.
Many people asked why, and many people suggested a bike engine as it would be lighter. But I wanted the BMW engine, and the phrase "Because I can" started to be thrown about.
Cost
The budget was thrown out of the window. No longer was this going to be built as cheap as possible, but the budget was not unlimited either.
A bias pedal box was fitted, this had to be locked off before the car was made road legal though.
Braided lines were used throughout the braking system and braking system.
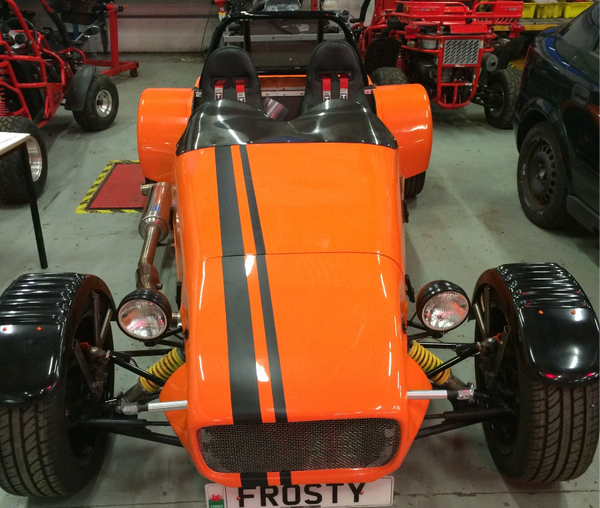
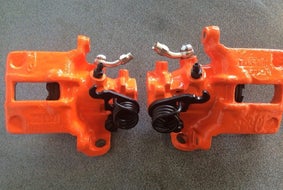
Silicon hoses were bought to match the colour of the bodywork, a bright colour as per most of my crazy ideas.
A second phrase was coined, "It's shiny because we like shiny".
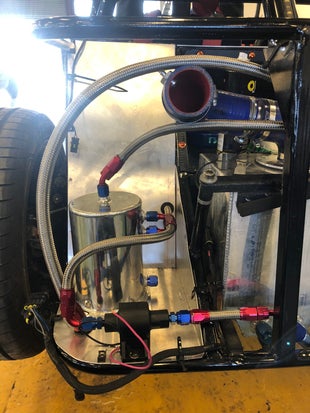
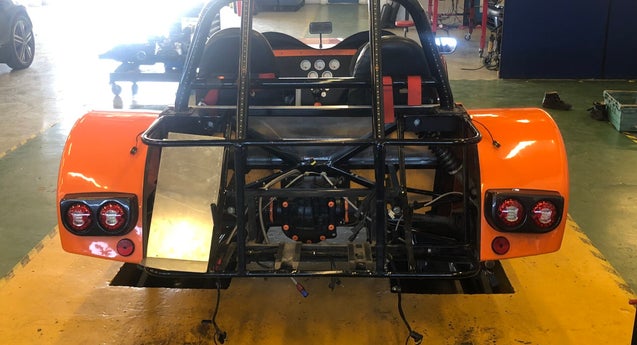
Very little changes have been made to the car since it was first built. It did suffer from fuel surge when the tank was low though, so a swirl pot was added. At the same time, the boot area was filled with aluminium panels to make it usable.
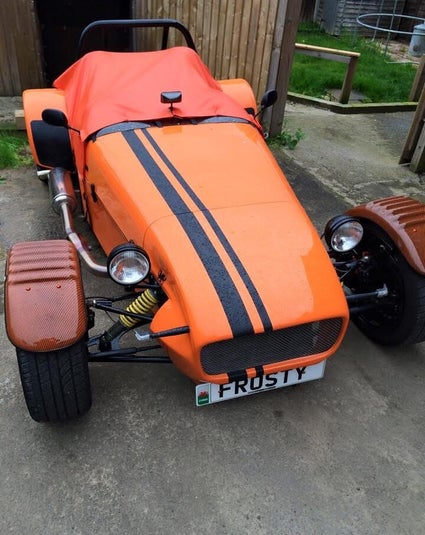
Finished?
It now sits at the bottom of the drive way, taxed, MOT'd and insured. Its had a few changes along the way, purely based on the "Because I can" moto. It now has wireless control on the steering wheel for the indicators, horn and lights.
The ignition barrel did fail, this is a well known issue with the BMW barrel, but rather than replace it, it now has an ignition button and start button. Although, it does still have the original BMW EWS immobiliser fitted and still operating.
Whilst making the wireless controls, I decided to rewire behind the dashboard to make it neater. Adding a home printed wireless Quadlock compatible phone charger was about the only other wiring change.
New seats are planned because the old ones had split the stitching and aircraft release harnesses too. And finally it now wears a matching private number plate to fit in with my other road legal toys.
But is it finished? Maybe. To me, it's about the building process, so now it's built, then it's time for another project.
The time it went wrong!
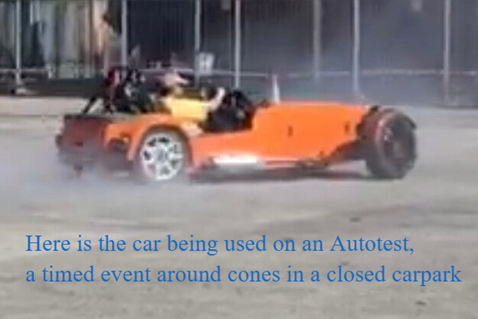
I have never been afraid to push the car. With nearly 200bhp and a weight of less than 800Kg, it's a fun thing to play with. During one Autotest though, I kissed the kerb with the rear left. No damage, or so I thought! Two weeks later on a day out for a blast, the rear left suspension let go on a tight 90 right bend at slow speed. Luckily it hadn't failed earlier in the day, the car had been airborne over a hump back bridge that morning!
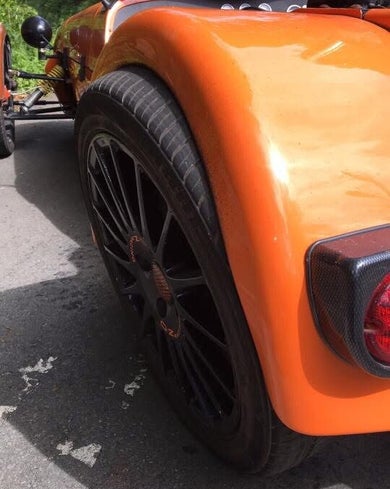
This was a failed weld on a component that I had bought. It was the upper suspension adjuster, a round tube welded to a M22 threaded bar. The tube cracked right around the weld causing the top of the wheel to fall outwards.
The weld may well have held had it not been stressed the week before on the Autotest. Both sides were replaced with spherical rod ends instead, these should hold up a little better, but could highlight a weakness in other areas.
Many people thought I had walloped it that day when it was out on the road, but let them believe what they want.
Create Your Own Website With Webador